Methods to remodel your home in phases that will ensure your access to daily living necessities.
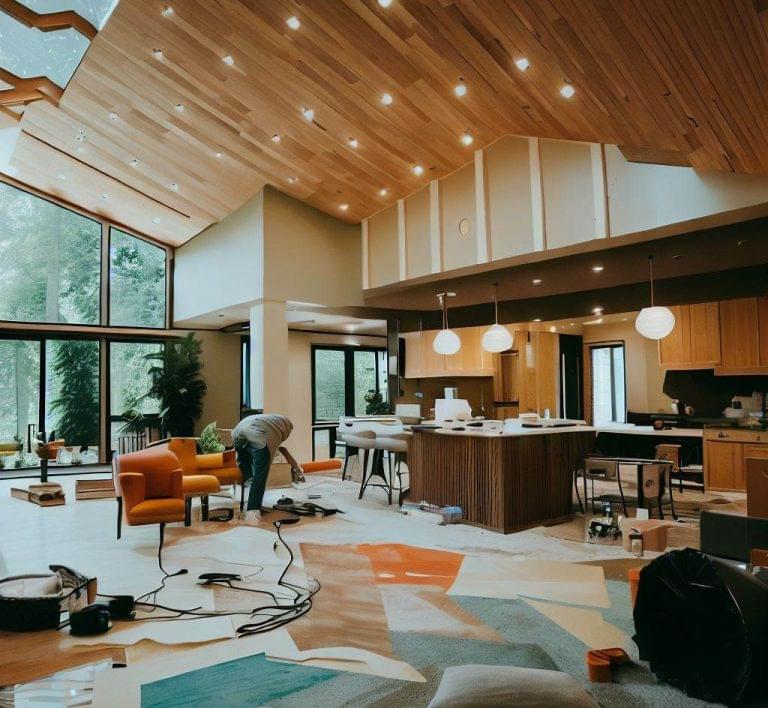
Since major home renovations tend to kick up a lot of dust, create a lot of loud noise throughout the day, and completely render most rooms unusable, the general advice is to move out of your home during the remodel. However, you can opt to stay in the home if you are looking to keep your budget free for the renovations or save some money on temporary lodgings.
In order to do this, you must work within the contractor’s remodeling phases and be prepared to live in a non-functioning home for months at a time. Below you’ll find the method to remodel your home in phases that will ensure your access to daily living necessities.
1. Start with The Planning Process.
At the beginning of the planning process, you will
need to determine the maximum amount you are willing to spend on the entire project, then factor in various costs like must-haves, wants, and labor. Labor is going to run you between 15-30% of your total budget and you need to add on another 10-20%
as a contingency in case something goes wrong. Not to say anything will go wrong, however, it is best to always anticipate and have a plan set in place in case anything comes up. Decide on what factors you can DIY, and which factors need a professional. Hint: hire a professional for plumbing, electrical, HVAC, and moving/removing any load bearing walls.
2.Begin the Demolition.
Once you have your plan set in place and you know what your design is going to look like, hire a contractor. With a contractor hired you can begin the demolition process and get the project underway. You will need a dumpster for this so that all debris can be removed from the home as it comes down. This minimizes the mess and helps you keep dust to a minimum. You may want to include dust sealing barriers to block off rooms as you remove debris from them, one at a time. Doing so will control the spread of dust and protect respective rooms surrounding demolition area from dust settling.
3.Have HVAC, Plumbing, & Electrical Done.
Now you can begin the rough-in process which requires you to install ductwork for heating and air conditioning, as well as, electrical and plumbing systems. You will need a home inspection to ensure that all your systems are up to date. If you have any questions, the city in which you reside can assist you or the contractor.
4. Tackle Framing & Drywall.
All rooms get framed in this stage, so that the drywall can go up. Inspecting your framing and having a professional reinforce or replace beams/seal plates or executing the addition of any framing will take place before drywall goes up. This is going to assure that there are no issues prior to drywall going up. Hanging sheets of drywall, taping seams, applying the drywall compound, and letting it dry will follow. You will need to smooth the drywall out so that you have a smooth surface which will set you up for the next phase, Paint.
5.Get Your Paint On.
Make sure that you take measurements before buying your paint as you want to buy it all in one go, to avoid running out and getting paints that don’t quite match in color from what you had previously. While you can do all the painting yourself, be wary that it is backbreaking work and can take a while but it will definitely be rewarding.
6. Install Cabinets & Fixtures.
Once your walls are painted, you can install your cabinets and fixtures. There are two ways to go about this: get a professional to create your cabinets or you can buy them yourself and install them on your own, there is no wrong choice. During this stage, you will want to tackle your lighting and any fixtures associated with toilets, sinks, bathtubs, and showers. It is important to address these task in order to
ensure proper completion of this phase.
7. Place Windows & Doors In.
Before you can get to your flooring, you will need to install your doors and windows. Make sure that they are leveled and that they can swing open and close freely. For your windows, be sure that they are properly sealed and inserted all the way!
8.Clean Out the Vents.
Next you are going to want to sweep, vacuum, and use a shop vac to get rid of any remaining debris. You may want to completely wipe down every surface with a damp cloth, just to pick up all the excess dust. You will want to hire a professional to clean out your air vents and furnace.
9.Now Take a Look at Flooring.
Now you can place down your flooring. This could be a range from tile, laminate, hardwood, or carpet. Coming second to last in the process, you don’t want to track debris all along your new flooring and definitely want to avoid damaging it.
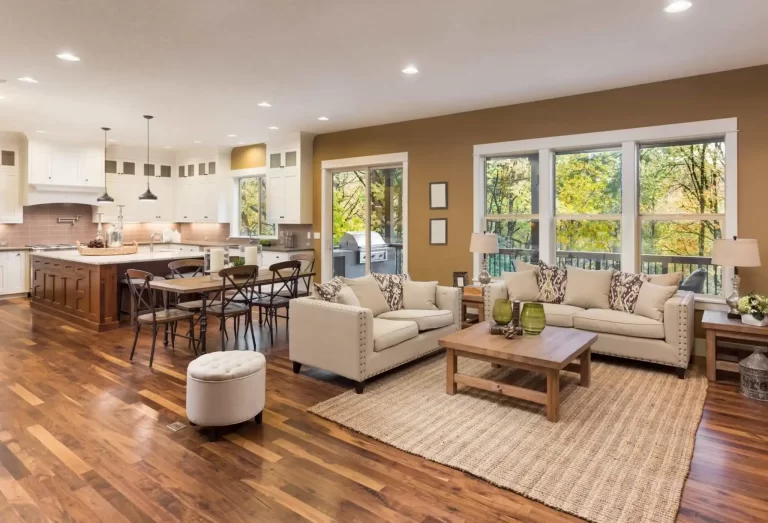
10.Place Down the Finishing Touches.
Once the flooring is down, you can nail down trim, put up door frames, and place down baseboards. This may also include putting on outlet covers, light switch covers, and doing minor paint touch ups. Once you have completed this, you will be all set and can revel at the site of your dedication and be proud of the decision you made to follow these steps to building the vision of what you be longing to have.